
Quick answer
Level 4 and Level 5 drywall share the same taping and three coats over every screw; Level 5 adds a thin skim coat over the entire surface. Under the Gypsum Association’s GA-214, Level 4 suits flat paint and soft, even light, while Level 5 is recommended for sheen or dark paints and strong side lighting.
The real difference: one extra step
Level 4 and Level 5 share the same joint work. The tape gets embedded, the flat seams get two more coats, the inside corners get one, and every screw head and corner bead gets three. Level 5 then adds one more operation: a thin skim coat of joint compound (or a product made for the purpose) over the entire surface, not just the seams.
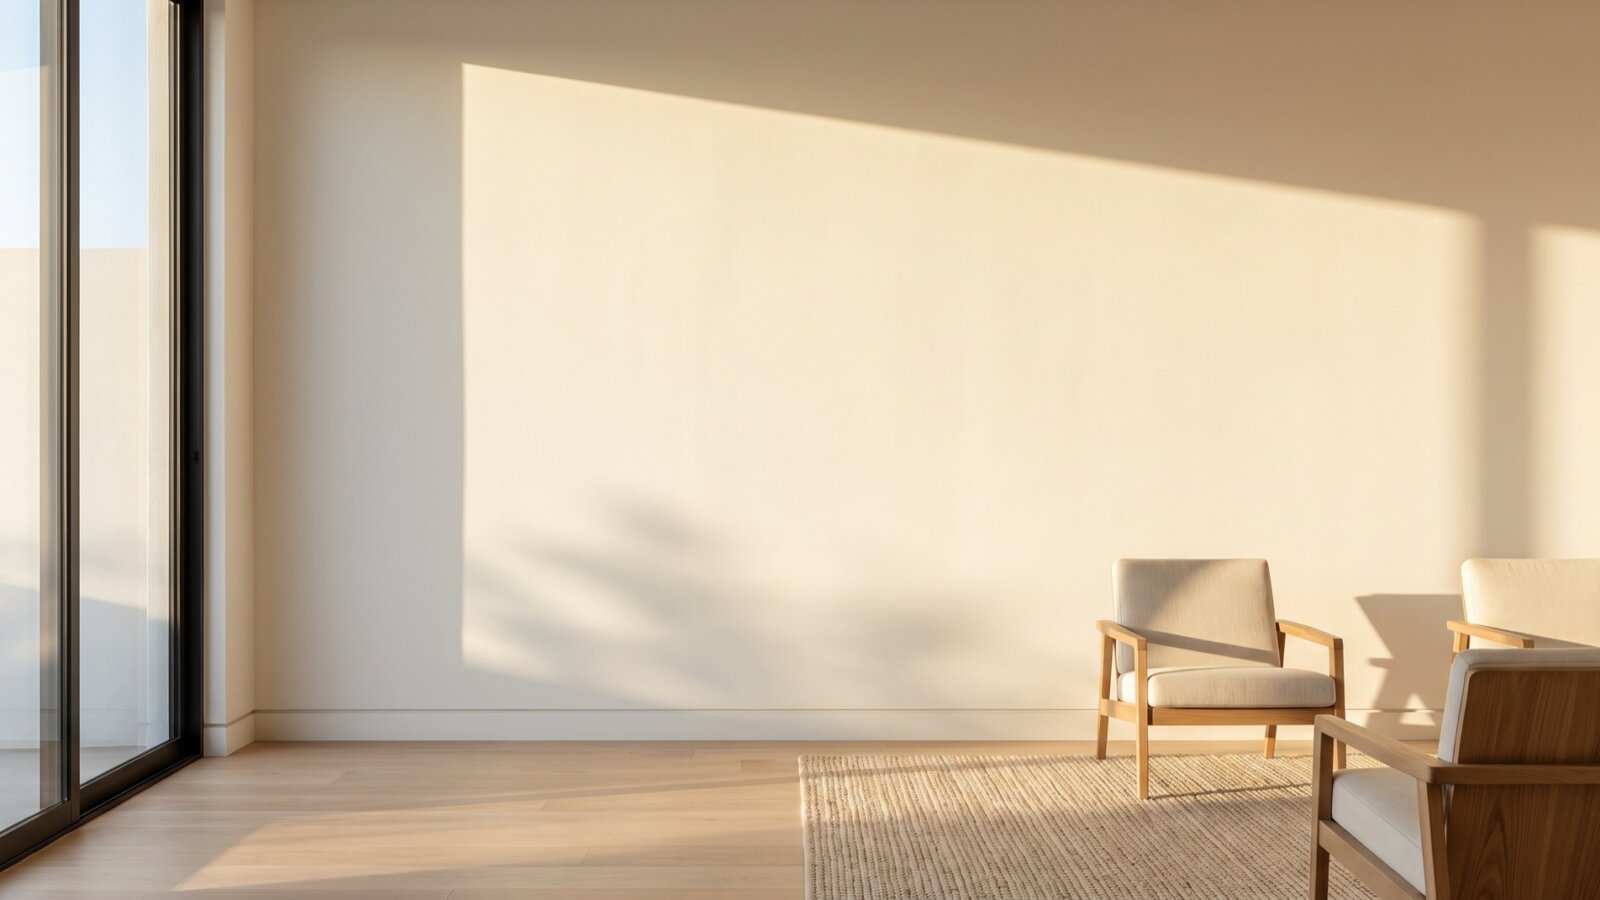
That single step matters because of what sits between the seams. On a Level 4 wall, the flat field of the board is still bare paper, while the joints are compound. The two absorb primer and paint differently and have a slightly different surface texture. Under soft, even light with flat paint you won’t notice. Under light that skims across the wall, or under a paint with sheen, the seams can show through as faint stripes and “picture frames” around each sheet. The trade calls this joint photographing. A full skim coat gives the whole wall one uniform surface to paint over.
If you want the full ladder from Level 0 to Level 5, see our guide to drywall finish levels explained. This article focuses on the choice most homeowners actually face: stop at Level 4, or pay for Level 5?
What each level includes under GA-214
The industry reference for finish levels is GA-214, Levels of Finish for Gypsum Panel Products, published by the Gypsum Association together with the Association of the Wall and Ceiling Industry, the Drywall Finishing Council, CISCA and the Painting Contractors Association. It isn’t a building code, but it’s the standard your specs, estimates and any disagreement about “smooth enough” should point to.
| Step (GA-214-2021) | Level 4 | Level 5 |
|---|---|---|
| Tape embedded in compound at all joints and inside corners | Yes | Yes |
| Additional coats over flat joints | 2 | 2 |
| Additional coats over inside corners | 1 | 1 |
| Coats over fastener heads and accessories (corner bead, trim) | 3 | 3 |
| Skim coat over the entire surface | No | Yes |
| Surface requirement | Smooth, free of tool marks | Smooth, free of tool marks |
| Primer recommended in the paint specification | Yes | Yes |
GA-214 is just as specific about where each level belongs. Level 4 is for smooth walls with flat paints, light textures, non-continuous textures or wallcoverings, and the document says outright that non-flat or dark, deep-tone paints are not recommended over it. Level 5 is for smooth walls with non-flat (sheen) paints or other glossy finishes, dark or deep-tone paints, or critical lighting. GA-214 calls it the most effective way to get a uniform surface and minimize joint photographing and fasteners showing through.
Level 4 vs Level 5 at a glance
| Factor | Level 4 | Level 5 |
|---|---|---|
| Paint sheen | Flat (GA-214: 0–5 gloss units at 60°) | Flat through high-gloss |
| Paint color | Light to mid tones | Any, including dark and deep tones |
| Lighting | Ambient, indirect, diffused | Strong side light from windows, wall washers, surface-mounted fixtures |
| Also suits | Light textures, most wallcoverings | Smooth modern walls and ceilings, feature walls |
| National cost range, per sq ft (HomeGuide) | $1.70–$3.20 | $1.75–$3.50 |
| Extra time | Baseline | Added skim pass plus drying and sanding |
| Touch-ups after paint | Hard to hide | Hard to hide |
The three things that decide it: sheen, color and light
1. Paint sheen
This is the most reliable test. GA-214 defines flat paint by measurement: 0 to 5 gloss units at a 60° angle (and 0 to 10 at 85°). Anything above that counts as non-flat. Paint makers often list gloss values on the product data sheet. If the sheen you’ve picked for a wall or ceiling is above flat, GA-214 points you to Level 5. Sheen reflects light, and reflected light exaggerates every small ridge and hollow.
2. Paint color
Deep charcoals, navies and saturated greens are popular for accent walls, and they’re unforgiving. GA-214 notes that deep or strong hues, even in flat paint, tend to magnify surface imperfections and raise the chance of joint photographing. If a wall is going dark, plan for Level 5 on that wall even if the rest of the room stays at Level 4.
3. Light, especially light that rakes across the wall
GA-214 defines critical lighting as strong side lighting from windows or surface-mounted fixtures. Light that hits a wall head-on flattens its surface. Light that grazes along it throws every tiny difference into shadow. In Bay Area homes that often means the wall running perpendicular to a big window or slider, a long hallway with a window at the end, a ceiling next to a wall of glass, or walls lit by wall-washer or grazer fixtures. These few surfaces tend to account for most “I can see the seams” complaints; the rest of the house is rarely the problem.
GA-214 also lists alternatives if you’d rather not skim: a medium-to-heavy texture hides minor differences, flat paint over a light continuous texture can reduce joint photographing, and draperies or blinds soften harsh side light. If you like texture anyway, our hand and spray texture service is often the budget-friendly answer for a problem wall.
Room by room: where each level usually makes sense
| Area | Usually enough | Consider Level 5 when… |
|---|---|---|
| Bedrooms, closets | Level 4 | You want a dark accent wall or a satin/eggshell sheen |
| Living and great rooms | Level 4 | Large windows or sliders throw light along the walls; ceilings are smooth and flat-painted under strong daylight |
| Hallways and stairwells | Level 4 | A window at the end rakes light down the length of the walls |
| Kitchens and bathrooms | Level 4 on flat paint | Your painter plans a higher sheen for scrubbability |
| Ceilings | Level 4 | Recessed or surface lighting sits close to the ceiling plane, or skylights wash it with light |
| Offices, retail, lobbies | Per the architect’s finish schedule | Wall washers, feature lighting, glossy or dark finishes |
You don’t have to pick one level for the whole house. GA-214 expects the designer to mark on the finish schedule or plans which areas need which level. That’s how commercial work is specified, and it works just as well for a remodel. Paying for Level 5 on three critical walls and a ceiling costs a lot less than skimming every closet.
What the difference costs
New Line Drywall doesn’t publish price lists, and any real quote depends on access, ceiling height and the condition of the board. As a national reference, HomeGuide’s drywall finishing guide lists $1.70 to $3.20 per square foot for Level 4 and $1.75 to $3.50 for Level 5 (page last updated in 2023). Those ranges overlap heavily: they bundle hanging and finishing, and HomeGuide says they come from research and project costs reported by its members.
A cleaner way to see the gap is to price the extra step by itself. HomeGuide’s skim coat guide (updated August 2025) puts skim coating at $1.00 to $1.30 per square foot on walls and $1.00 to $1.50 on ceilings, with labor at about 70% of the total and a 10% to 20% surcharge for ceilings over 10 feet. It prices a 12′ x 12′ room (walls and ceiling) at $580 to $800 to skim. Those figures cover skimming existing surfaces, not just new board, but they show what drives the Level 5 premium: labor, not material.
Labor is also why Bay Area numbers tend to sit above national averages. In wage data from the Bureau of Labor Statistics published through O*NET OnLine (2025 wage data), the median hourly wage for drywall and ceiling tile installers is $28.33 nationally, compared with $39.50 in the San Francisco–Oakland–Fremont metro, $38.19 in San Jose–Sunnyvale–Santa Clara and $39.74 in Santa Rosa–Petaluma. For budgeting, treat national cost guides as a starting point, not a local quote.
What Level 5 won’t do
- It won’t make a wall perfectly flat. GA-214 says plainly that a perfectly flat gypsum panel surface isn’t achievable. Finishing is about concealing joints, not creating a mirror.
- It won’t look like plaster. The same document notes that skim coating does not approximate a plastered finish.
- It won’t fix framing. Bowed studs, twisted joists or a badly out-of-plane wall show through any finish. Those get corrected before finishing, not hidden by it.
- It isn’t the last step. GA-214 notes that treated joints and spotted screws may still be visible once the skim dries. The primer your painter applies is part of the system, and GA-214 recommends it be written into the paint spec for both levels.
- It won’t make touch-ups invisible. GA-214 warns that patching even minor damage after the final finish may be hard to conceal at Levels 3, 4 and 5. Protect finished walls during the rest of the job.
How to judge the finish fairly
A common mistake is judging drywall by holding a work light flat against the wall. Under that kind of light, any hand-finished surface looks rough. GA-214 sets a more realistic standard: view the surface from at least 5 feet away, perpendicular to it, under the lighting that will be in place when the project is finished. That includes design lighting and daylight, with window treatments considered. Blemishes should not be visible from that normal viewing distance.
Two practical takeaways. First, if you know a wall will be lit by wall washers or sit next to a floor-to-ceiling window, say so before finishing starts. That’s what defines critical lighting. Second, GA-214 has the design professional specify a jobsite mock-up for Levels 3, 4 and 5: a sample area finished and decorated, then viewed under real lighting, which becomes the standard the rest of the work is judged against. On a remodel without an architect, asking for one on a key wall is reasonable. GA-214 also calls for keeping at least 50°F continuously for 48 hours before and during finishing, which matters on unheated jobs in winter.
How to spell it out in your estimate
- Name the level and the standard: “Level 4 per GA-214” or “Level 5 per GA-214,” not just “smooth finish.”
- List the areas: which rooms, walls and ceilings get Level 5, if any.
- State the paint: sheen and approximate color for critical walls, so the finish matches what goes on top.
- Clarify primer and paint: who primes, with what, and when. Drywall contractors typically hand off at a finished, sanded surface; priming and painting are usually done by the painter.
- Agree on inspection: final lighting, viewing distance and, if warranted, a mock-up.
If you’re working on existing walls rather than new board, the process is a skim coat over what’s there. That’s covered on our skim coat and flat wall finish page.
When to call a pro
Stopping at Level 4 is the right call for most rooms with flat paint and soft light. A skim coat is where DIY and even general handyman work usually fall short. It takes a practiced hand to lay a thin, even coat over a whole wall without leaving lap marks or ridges, and those flaws are exactly what critical light reveals. Bring in a drywall finisher if you’re planning sheen or dark paint on smooth walls, if you have walls or ceilings next to large windows or under wall-washer lighting, or if an existing finish already shows seams.
New Line Drywall is a licensed drywall contractor (CSLB #1051640) serving the San Francisco Bay Area from Castro Valley. We can walk the space, flag the critical-light surfaces and write the level into the estimate wall by wall. For standard paint-ready work, see our Level 4 paint-ready drywall finishing. For glossy, dark or brightly lit surfaces, see our Level 5 smooth wall finishing service. We handle the drywall; priming and painting are done by your painter. To get started, request a free estimate or call (415) 756-9502.
Frequently asked questions
Can existing Level 4 walls be upgraded to Level 5 later?
Yes. A finisher can skim coat walls that are already painted. The surface has to be sound first: peeling or loose paint gets scraped and repaired, and glossy paint usually needs prep so the compound bonds. After the skim coat, the walls need primer and new paint, so it’s easiest to plan the upgrade before your next repaint.
Does a Level 5 finish make drywall stronger or more moisture resistant?
No. The skim coat is a cosmetic layer of joint compound. It evens out the surface so paint looks uniform, but it doesn’t add strength, impact resistance or moisture protection. Those come from the board you choose, such as moisture- or mold-resistant panels in wet areas, and from the paint system.
Do I need Level 5 under wallpaper?
Usually not. GA-214 lists wallcoverings as a normal use for Level 4. It adds caveats: joints must be well concealed if the wallcovering is lightweight, has little pattern or has a non-flat sheen, and unbacked vinyl wallcoverings are not recommended over Level 4. For thin or shiny papers, ask about Level 5 on those walls.
How much time does a Level 5 finish add to a project?
The skim coat is an extra operation, and each coat needs to dry before sanding. HomeGuide’s skim coat guide estimates 1 to 4 days to skim a room, including drying time, with each coat taking 12 to 24 hours to dry. Humidity, temperature and ceiling work can stretch that.
Sources
- Gypsum Association, GA-214-2021: Levels of Finish for Gypsum Panel Products (PDF)
- National Gypsum: Level 4 vs. Level 5 Drywall Finish, Key Differences Explained (October 2024)
- HomeGuide: Cost to Tape, Mud and Finish Drywall (finish-level cost table, page last updated September 2023)
- HomeGuide: How Much Does It Cost to Skim Coat Walls and Ceilings? (updated August 2025)
- O*NET OnLine: Local Wages for Drywall and Ceiling Tile Installers (47-2081.00), California, BLS 2025 wage data


